Mods, or modification, is taking any stock item and converting it to the point of coolness. We modify everything, sometimes without regard to time or money things we take an interest in, be it computers, cars or even our toys. The AR Drone is no different, owners add legs, stilts, LED light arrays, cameras and some have really cool paint jobs, there is NO limit to what you can do to your drone.
To us modders, we don’t acknowledge the warranty, especially when it comes to the drone! The biggest reason is that Parrot has made available every part and special tools for sale. For a reasonable price, any broken part can be replaced using the online YouTube tutorials Parrot has created.
A Simple Safety Mod
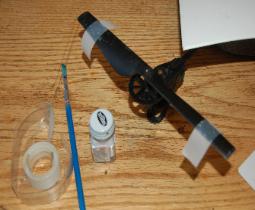
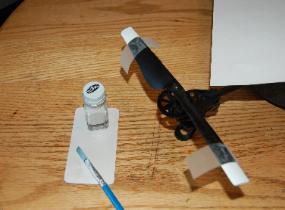
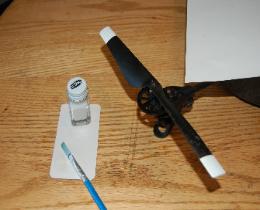
If you’re like any other drone owner, you’ll want to get up close and personal with that flyer while hovering. And if you’re like any other pilot, you had and ended up getting your fingers whacked by the spinning, almost invisible propellers! Play it safe and paint the tips of those spinners. Use white or yellow TESTORS paint. Mask off where you want the paint to stop and apply 3 coats. 3 coats will bring out the brightness of the paint over the black plastic.
Place a piece of tape on end at the same angle as the tip, then place a piece next to the first one, remove the first one and paint the tip. Repeat on all props the same way, and it’ll look professional!
A Simple Important Mod
This is a simple yet important mod. The motor assembly is comprised of a precision electric brushless motor attached to a controller circuit board. The controller board both supplies the motor with power while communicating with the motherboard. This board is coated with a water resistant, non-conductive substance.
Parrot realized that enclosing the assembly with a protective shroud and adding unnecessary weight was not the answer. The precision motor armature is a very strong magnet and can attract extremely small ferrous (iron) particles, or magnetic dust.
The only way for debris to enter the motor housing is through the two small holes located on the bottom end facing the ground. One way to tell if debris has entered the motor housing and stuck to the armature is by feel. If you finger-spin the props (you should after each cush landing) and there seems to be something stuck in the plastic gear, clean it out. If both gears are clear and resistance is still felt, there may be garbage in the motor, if so, you will have to replace the motor assembly. Attempting to operate the drone with a bad motor you will get an error message, and the drone won’t go online. For future peace of mind, the following solution is easy to perform.
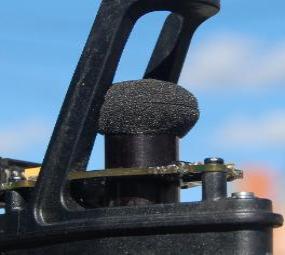
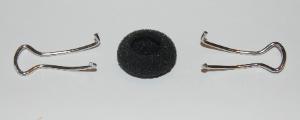
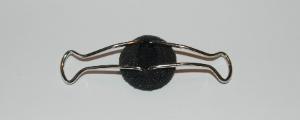
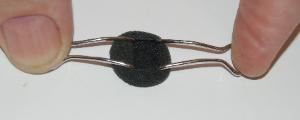
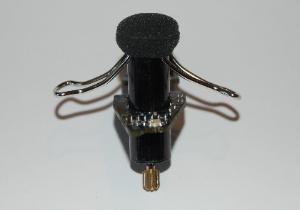
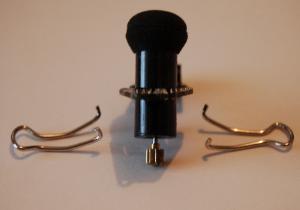
Mod are four earbud covers, that can be purchased on Amazon.com for around US$6.99. You’ll receive eight in the pkg. The filters for this You can install them on the motors while on or off the drone. Once installed, the covers can remain on even while the motor is being removed or reinstalled. This will keep the garbage from being sucked into the motor housing. Even with the covers on, the motors will NOT overheat. Temps will go as high as 130+ DEG F. Not enough to cook anything. My covers have been on for over 60 flight hours with no problems.
A Prop Axle Bushing Mod
Guaranteed, after 40 (forty) flight hours, or the total amount of time your drone has been in the air, your drone will start to get wobbly, continually twitching, making small adjustments while in hover mode. At times your drone just doesn’t act right. So check the side play on the prop axles. I doubt Parrot realized that what they ordered from the manufacturer is NOT what they got when it comes to the Prop axle bushings. Advertised as “self-lubricating bronze bushings,” these bushings are not bronze or even a red metal but cheap copper plated steel inserts and they don’t last!
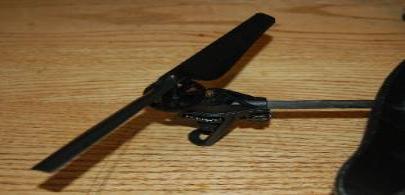
Creative drone owners are replacing those inserts with sealed ball bearings, a recommendation if you plan to fly for many seasons. If you do replace the inserts, keep the bearings should your central cross break, simply move the bearings to the new replacement cross.
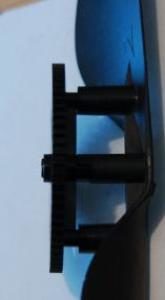
To remove the old bushings which are 2mm thick, stick the axle into the bushing 3mm (not allot) and twirl the axle around using a little pressure or resistance, and the bushing will walk itself out of the hole. This is possible because the manufacturer only pressed them in without an adhesive. Do this to all bushings both top and bottom.
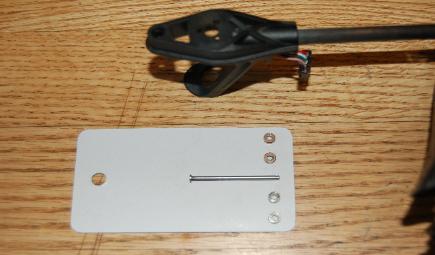
The replacement bearings are 2mm X 5mm X 2.5mm and can be found in hobby shops and on the Internet. The average cost for a pack of four is around the US $4.99 plus tax and shipping. Amazon.com is the best place to order bearings and even parts for your drone, and they have a return policy as well. Once the bushing is out simply pushed the new bearing into the hole. This operation can be performed with the motor assembly in place. REMEMBER, you will be working close to the controller board, be careful NOT to scratch the board or knock components off. It’s simple and shouldn’t take more than 45 minutes to an hour to complete.
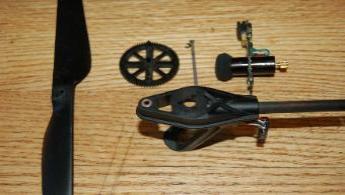
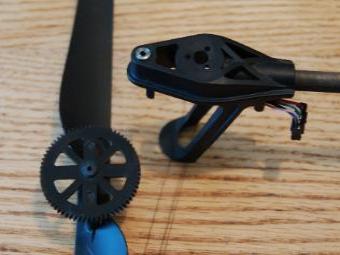
After all, new bearings are in place, and you have sanded off the little nubs from the large gears you can re-assemble the prop/gear/axles. When completed, finger spin each prop, if any don’t spin freely, remove the prop and gear, re-sand the nub, re-assemble and test.

Leave a Reply